Monotub Tek: The Complete Guide to High-Yield Bulk Growing
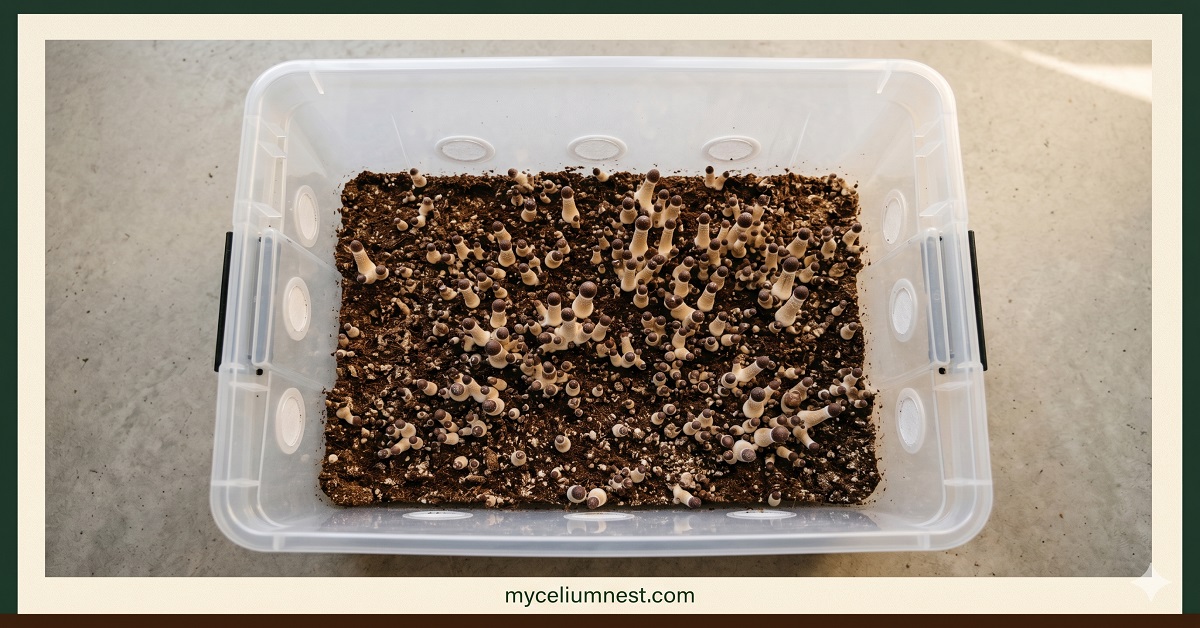
A monotub’s advantage is surface area and substrate depth. A standard 66-quart tote provides 5–6× the fruiting surface area of a single quart jar, and 20–25cm of bulk substrate depth gives the mycelium more nutritional reserves than any bag-based method. The result: full-surface pinsets that produce 200–400g per flush — consistently the highest single-flush yield achievable with home equipment.
The Physics: Why Monotubs Work
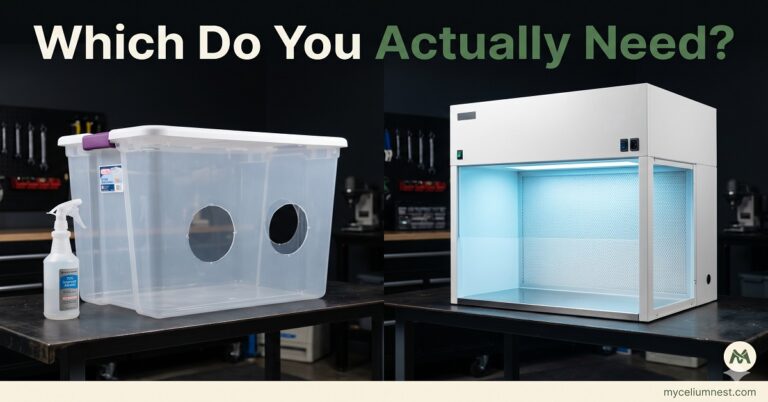
Understanding the mechanism makes troubleshooting intuitive. A monotub is an enclosed fruiting chamber and bulk substrate vessel combined. The bulk substrate (coco coir, vermiculite, or field capacity hardwood) provides moisture and nutrition. The tub walls contain humidity. The holes in the sides provide passive gas exchange (FAE) while maintaining internal RH above 80–85% without any misting equipment.
How the Hole Pattern Creates Passive FAE
CO₂ is heavier than air — it sinks. Oxygen is lighter — it rises. A monotub with holes positioned in the lower-middle of the tub walls and the tub set at room temperature creates a natural convection cycle: CO₂ produced by the mycelium sinks toward the lower holes and exits, while fresh oxygen-rich air enters through the upper holes. This passive FAE requires no fan, no timer, no misting — it runs continuously by physics alone.
Setting Up Your Monotub: The Exact Hole Pattern
Materials
- 66-quart clear storage tote (Sterilite or similar with secure-snap lid)
- 1.5cm (5/8-inch) drill bit
- Polypropylene fibrefill (polyfill) — stuffed into each hole to act as a particulate filter
- 70% isopropyl alcohol and spray bottle
Hole Drilling Protocol
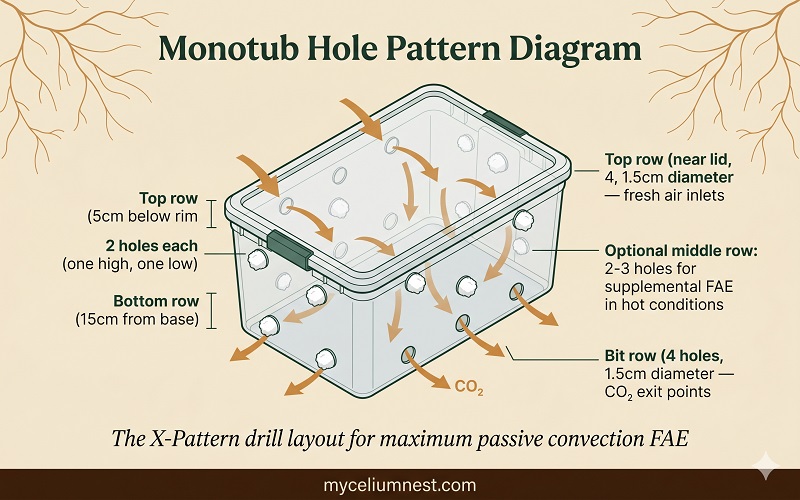
- Mark two rows of holes on each long side wall. Upper row: 4 holes spaced evenly, positioned 5–7cm below the rim. Lower row: 4 holes spaced evenly, positioned 12–15cm from the base.
- Mark one row on each end wall. Two holes on each short wall — one high (5cm from rim), one low (12cm from base).
- Drill all holes with a 1.5cm bit. Clean the inside edge of each hole with sandpaper or a lighter to remove any plastic burrs that could snag polyfill or scratch your arms during substrate loading.
- Stuff each hole firmly with polyfill. The polyfill should be tight enough not to fall out but loose enough to allow air movement. This prevents contamination while allowing gas exchange.
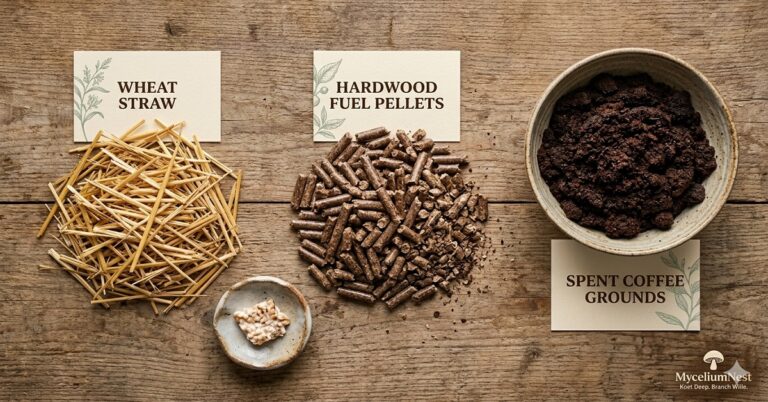
Bulk Substrate: The CocoTek Coir Formula
The most widely used and reliable monotub substrate is coco coir + vermiculite (CVCVT) — cheap, widely available, low-contamination risk, and excellent moisture retention.
CocoTek Coir Bulk Substrate Recipe (for one 66-quart tub)
- 1 brick (650g) coco coir (coconut fibre)
- 4 cups medium vermiculite
- 4 cups boiling water (for pasteurisation)
- Optional: 1 cup worm castings (adds nitrogen and microbiome diversity)
- Pour boiling water over coco coir brick in a large bucket
- Allow to absorb and cool for 30–60 minutes
- Break up the coir and mix in vermiculite
- Squeeze test: 2–3 drops maximum. Adjust moisture.
- Allow to cool to room temperature before use — no pressure cooker needed for this substrate.
Spawn-to-Substrate Ratio: The Number That Matters Most
In monotub tek, spawn rate is the single most important variable. Higher spawn rate = faster colonisation = lower contamination risk = more vigorous fruiting. The temptation to conserve grain spawn by using the minimum is a false economy that dramatically increases failure rates.
Mixing Method
Layer spawn and substrate in alternating 2–3 inch layers, then mix thoroughly. Alternatively: mix spawn throughout the entire substrate volume at once. The goal is completely uniform distribution — no pockets of substrate without spawn. The bottom 2cm of substrate can remain spawn-free to act as a moisture reservoir.
Wet Tub vs Dry Tub: Diagnosing Your Monotub Microclimate
The most common monotub problem is misdiagnosed as a humidity or contamination issue when it’s actually a microclimate problem. Understanding the two failure modes saves repeated failed attempts:
The goldilocks zone: A correctly balanced monotub shows light condensation on the upper walls (especially after the lid has been on for several hours), a moist but not wet substrate surface, and walls that clear quickly when the lid is opened. Condensation on the upper walls but not pooling at the base is the visual confirmation that your tub’s microclimate is in the productive range.
The Black Liner Protocol: Eliminating Side-Pinning
Side-pinning — mushrooms forming in the gap between the substrate and the transparent tub wall, fruiting sideways against the plastic rather than upward from the surface — is the most commonly reported frustration in monotub cultivation. These lateral pins are difficult to harvest cleanly, abort more frequently than surface pins, and create moisture pockets against the tub wall where contamination can establish.
Why Side-Pinning Happens
Side-pinning has two compounding causes:
- Light penetration through transparent walls: Mushrooms use light as a directional growth cue. Light entering through the clear tub wall from the side triggers pins to orient laterally — toward the light source — rather than vertically toward the open surface.
- Microclimate gap: As the substrate colonises and then dries slightly between mistings, it pulls away from the tub walls by 1–3mm. This gap creates a small enclosed microclimate — slightly higher humidity, slightly higher CO₂, slightly different temperature — that the mycelium reads as an ideal pinning location. The gap essentially mimics the conditions that trigger pinning in the substrate’s natural forest-floor environment.
The Black Liner Solution
A black trash bag liner addresses both causes simultaneously. Here is the protocol:
- Pins form exclusively on top surface
- No gap microclimate between substrate and wall
- Light blocked from all sides
- Harvesting clean and straightforward
- Lower abort rate overall
- Lateral pins between substrate and wall
- Gap microclimate triggers side-pin initiation
- Light enters through transparent walls
- Harvesting side pins damages main crop
- Higher abort rate from disturbed microclimate
Triggering Pinning and Managing Flushes
Fruiting Trigger
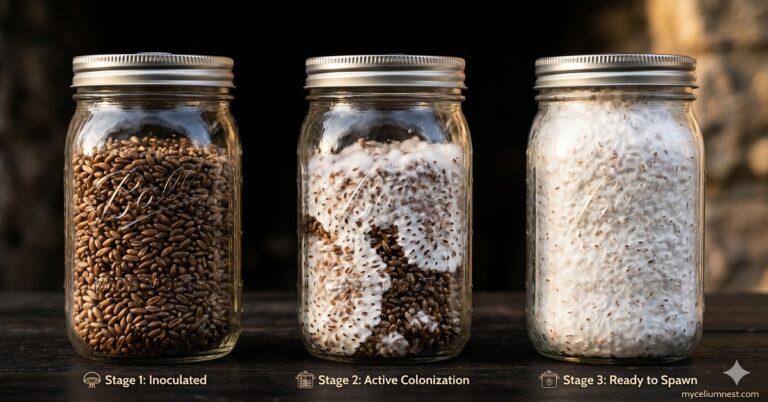
Once 100% colonised (all substrate white throughout — visible through the tub walls), apply the fruiting trigger:
- Fan and fresh air burst: Remove the lid, fan the tub for 30–60 seconds to drop CO₂ concentration, then replace the lid.
- Temperature drop (optional but effective): Move the tub to a 15–18°C location for 12–24 hours before returning to fruiting temperature. This accelerates pinset initiation by 3–5 days.
- Continue FAE management: Open the lid briefly once or twice daily until pins appear.
Between Flushes
After harvesting a full flush, scrape the substrate surface lightly with a sterile tool to remove any spent stems and abort remains. Re-hydrate by misting the surface or “field capacity top-dressing” with a small amount of fresh coir/vermiculite mix. Return to incubation for 5–10 days, then re-trigger. Most monotubs produce 3–5 productive flushes before yields decline significantly. For a detailed breakdown of fruiting parameters for each species, see our fruiting conditions guide.
Frequently Asked Questions
Can I use a monotub for lion’s mane or shiitake?
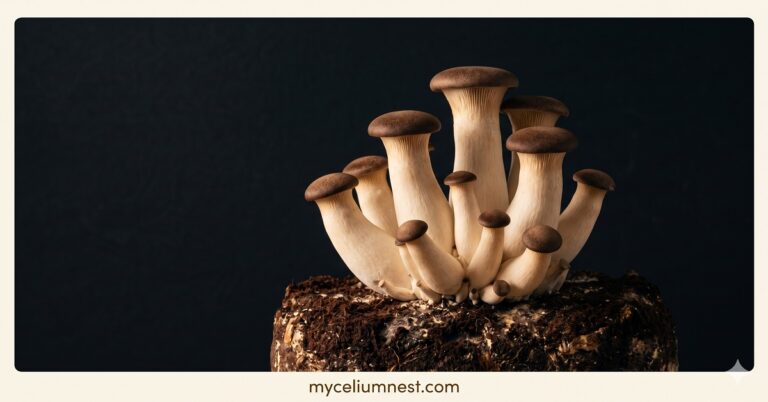
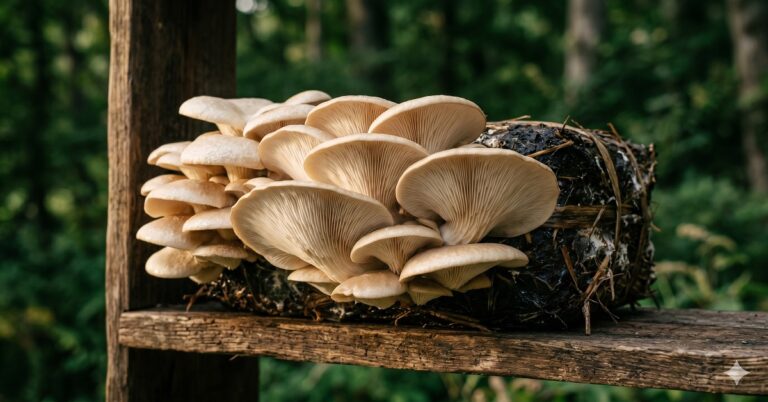
Monotub tek works best for oyster mushrooms and species that fruit well from bulk coco coir or hardwood-based bulk substrates. Lion’s mane is technically possible in a monotub but the species produces better quality fruit from blocks or bags where the fruiting surface can be controlled. Shiitake prefers log growing or dense hardwood blocks rather than the coco coir bulk substrates typical of monotub tek. Pearl oyster, pink oyster, and blue oyster are the ideal species for monotub production.
My tub is fully colonised but pins won’t form after 2 weeks — what’s wrong?
In order of likelihood: (1) Tub is too wet — see the wet tub diagnosis above. Condensation pooling at the base prevents gas exchange. (2) CO₂ too high from inadequate FAE — remove the lid for 30 minutes, do a cold trigger (15–17°C for 24 hours), then replace lid. (3) Substrate too warm — oysters need 15–22°C to pin; above 25°C pin initiation is strongly inhibited. (4) Substrate moisture too low — the tub is dry and pins abort before visible. Work through this checklist in order. Over 80% of “won’t pin” monotub issues are caused by conditions 1 or 2.
What size tub is best for a monotub?
66-quart is the sweet spot for most home growers — large enough to produce substantial yields per flush (200–400g), manageable enough to move and maintain, and widely available. Smaller tubs (33-quart) are suitable if you’re working with limited spawn; larger tubs (106-quart) produce bigger yields but are heavier to manage and can develop microclimate inconsistencies across the larger surface area. If you’re running multiple monotubs, 66-quart units are easier to standardise and troubleshoot.
Disclosure: This article contains Amazon affiliate links. See our full disclosure.