Mushroom Growing for Beginners: The Only Guide You Actually Need

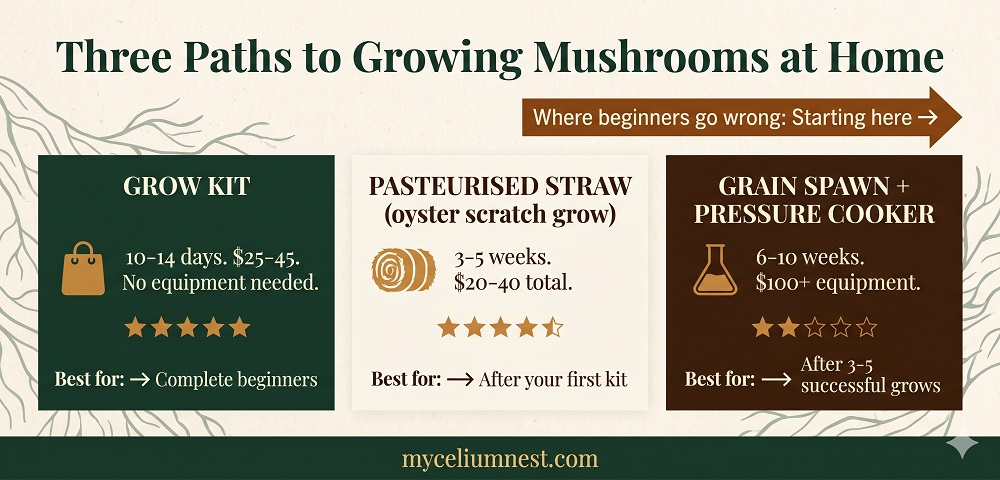
Start with a grow kit. Then scratch grow. Every beginner who starts with scratch cultivation loses their first 2–3 batches to contamination and quits. Every beginner who starts with a kit builds the confidence and tactile knowledge to make scratch growing successful. The kit-first pathway is faster, cheaper overall, and produces your first harvest in 10–14 days instead of 6–8 weeks.
The internet has a mushroom growing problem. There are thousands of guides that explain the theory perfectly — fruiting conditions, substrate ratios, contamination types — but almost none that answer the real beginner question: where do I actually start, given that I have no equipment, no experience, and a limited budget?
This is that guide. It tells you which method to start with and why, what will go wrong and how to prevent it, and provides the exact pathway that produces a successful first harvest without wasting money on equipment you don’t need yet.
- The Three Growing Methods — Honestly Compared
- Which Method Should You Start With? (Decision Tool)
- The 3 Failures That End Most First Grows
- Which Mushroom Species to Start With
- The Kit Pathway: 10 Days to Your First Harvest
- The Scratch Pathway: Your First Oyster Grow
- What to Expect From Your First Three Grows
- Frequently Asked Questions
The Three Growing Methods — Honestly Compared
There are three fundamentally different ways to grow mushrooms at home. They share the same biology but differ radically in complexity, cost, time investment, and failure modes. Understanding the difference before you start saves significant money and frustration.
Which Method Should You Start With?
The Home Audit: Finding the Best Spot in Your House
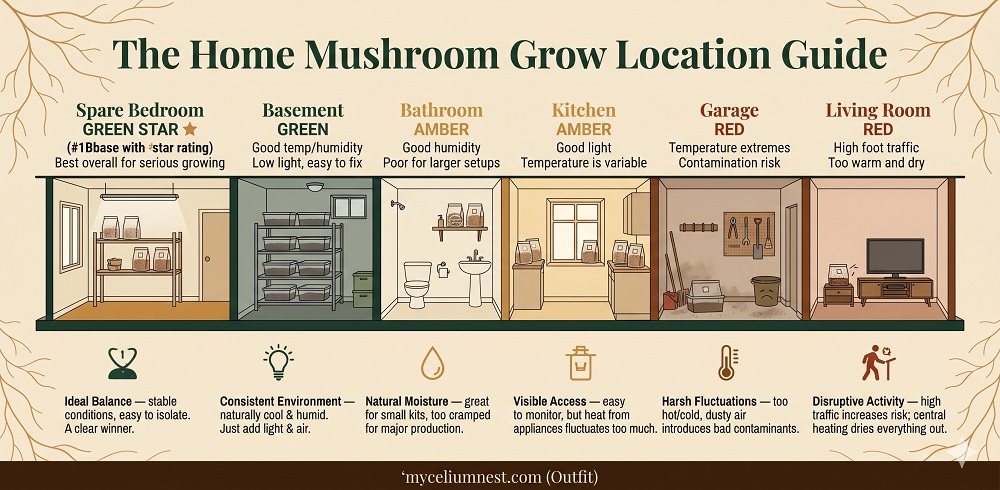
Before your first kit arrives, spend five minutes assessing your home. The location you choose affects humidity consistency, temperature stability, ambient spore load, and light availability — all of which directly influence your success rate. Here is the honest room-by-room breakdown:
| Location | Humidity | Temp Stability | Air Quality | Verdict | Best For |
|---|---|---|---|---|---|
| 🛁 Bathroom | High ✓ | Variable (steam spikes) | Poor (cleaning products) | ⚠ Acceptable for kits | Single kit, no other growing activity. Keep cleaning products away from the grow area. |
| 🍳 Kitchen | Variable (cooking steam) | Variable (oven heat) | High contamination risk | ✗ Not recommended | Cooking introduces high airborne particulate counts. Fine for viewing progress; not for long-term fruiting location. |
| 🏠 Spare Bedroom | Moderate (needs supplementing in winter) | Stable ✓ | Clean ✓ | ★ Best Overall | Ideal if temperature is 18–22°C. Add a small humidifier for winter growing. Controlled environment, low foot traffic. |
| 🏚 Basement | Naturally high ✓ | Stable ✓ | Good ✓ | ★ Excellent (add light) | Often slightly cool — ideal for blue oyster, shiitake, lion’s mane. Add a 12-hour LED timer. Watch for mould risk if basement is damp. |
| 🚗 Garage | Variable (season-dependent) | Extreme swings ✗ | Fumes, dust ✗ | ✗ Avoid | Temperature extremes kill mycelium. Car exhaust and petrol fumes inhibit growth. Shiitake logs outdoors beside the garage are the exception. |
| 🛋 Living Room | Low in winter (heating) ✗ | Moderate | High foot traffic, dust | ⚠ Only for kits in enclosed tents | Central heating drops RH to 30–40% in winter — too dry for pinning without a humidity tent. Fine for a single kit if near a window, away from heating vents. |
The Three Location Rules That Override Everything Else
The 3 Failures That End Most First Grows
Most beginner cultivation guides are written as if failure doesn’t happen. It does — and it’s predictable. These three failures account for the overwhelming majority of abandoned first grows. Understanding them before you start is the most valuable thing this guide can give you.
Failure 1: Wrong PSI (The Invisible Killer)
This is the most common cause of consistent contamination that beginners cannot diagnose. If you own an electric pressure cooker (Instant Pot, Ninja Foodi) and are attempting grain spawn or supplemented substrate, your cooker almost certainly only reaches 11–12 PSI — not the 15 PSI required to kill heat-resistant bacterial spores (Bacillus). You will sterilise, inoculate perfectly, wait two weeks, and then see pink or yellow contamination right on schedule. The substrate was never actually sterilised.
Solution: For grain spawn and supplemented substrate, you must use a stovetop pressure canner (Presto 23-Quart or similar) that verifiably reaches 15 PSI. See our pressure cooker guide. For oyster mushrooms on pasteurised straw, no pressure cooker is needed — hot water at 75–82°C for 1–2 hours is sufficient.
Failure 2: Contamination Misdiagnosis (Throwing Away Healthy Jars)
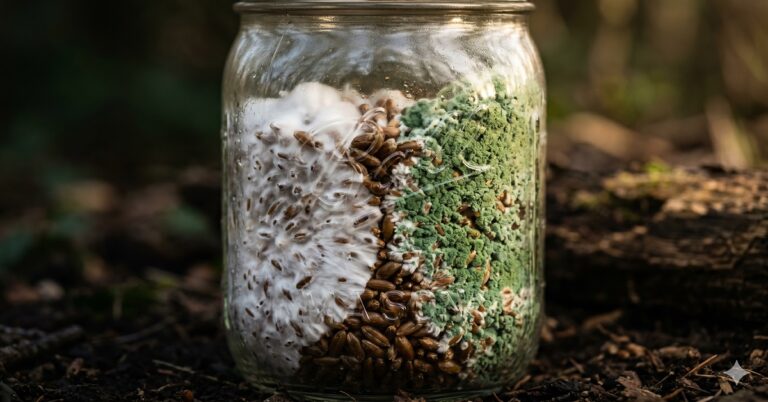
The second most common beginner failure: throwing away healthy colonising jars because of cobweb mycelium (which looks wrong but is completely normal) or metabolic yellowing/bluing (also normal). We estimate 30–40% of “failed” first grows on forums are actually healthy colonisations discarded prematurely.
Solution: Learn the difference between healthy growth and actual contamination before your first grow. The detailed visual identification guide in our contamination guide shows exactly what each contamination type looks like versus healthy mycelium variations.
Failure 3: Starting Too Complicated
Choosing lion’s mane on Master Mix with grain spawn as a first grow because you saw a video about it. Lion’s mane is a difficult fruiting species, Master Mix has higher contamination risk, and grain spawn requires a pressure cooker and clean inoculation technique. Any one of these challenges is significant for a beginner. All three together creates a near-certain failure.
Solution: The pathway below. Kit first. Oyster on straw second. Everything else third.
Which Mushroom Species Should Beginners Start With?
| Species | Difficulty | Time to Harvest | Best Starting Method | Notes |
|---|---|---|---|---|
| Pearl Oyster | ★ Easiest | 10–21 days (kit) | Grow kit → pasteurised straw | The best beginner species. Aggressive coloniser, forgiving, fast. |
| Pink Oyster | ★ Easy | 10–18 days (kit) | Grow kit → pasteurised straw | Warm-climate species. Beautiful. Very short shelf life — harvest early. |
| Lion’s Mane | ★★★ Moderate | 14–28 days (scratch) | Grow kit first, then hardwood block | Sensitive to CO₂ and humidity. Start with a kit before scratch. |
| Shiitake | ★★★ Moderate | 6–18 months (log) | Inoculated log — best outdoor method | Patience required. But extremely rewarding and low ongoing maintenance. |
| Portobello / Crimini | ★★★★ Harder | 4–8 weeks (casing required) | After significant experience | Requires casing layer. More demanding than oysters. Not recommended as first species. |
The Kit Pathway: 10 Days to Your First Harvest
A grow kit eliminates every variable that causes beginner failures. The substrate is already sterilised. The mycelium is already colonising. Your only job is to manage humidity and trigger fruiting. Here is the exact process:
- Choose a reputable kit. North Spore and Back to the Roots are consistently reliable for beginners. Our full grow kit guide ranks every major kit with actual yield data. Pearl oyster is the most forgiving species for a first kit.
- Open according to kit instructions — typically cutting an X or cross pattern in the bag to create a fruiting surface. The kit will specify exactly where and how large to cut.
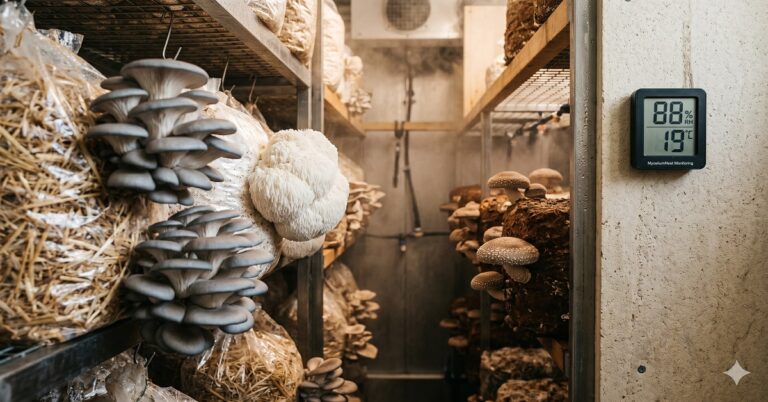
- Mist the cut surface 2–3 times daily with a spray bottle of clean water. Do not soak. Mist until the surface looks wet, then stop. Aim for 80–90% relative humidity around the fruiting surface — a $12 hygrometer tells you exactly where you are.
- Keep at room temperature (18–22°C for pearl oyster). No special lighting required — indirect ambient light is sufficient.
- Expect pins within 5–10 days. Harvest when cap edges are still slightly curved downward — before they flatten and begin releasing spores.
After your first kit: Order a second kit of a different species. Then try your first pasteurised straw grow using spawn from a supplier. You now understand what healthy colonisation looks like, what correct pinning humidity feels like, and how timing affects yield quality. This context makes your first scratch grow dramatically more likely to succeed.
Your First Scratch Grow: Oyster Mushrooms on Pasteurised Straw
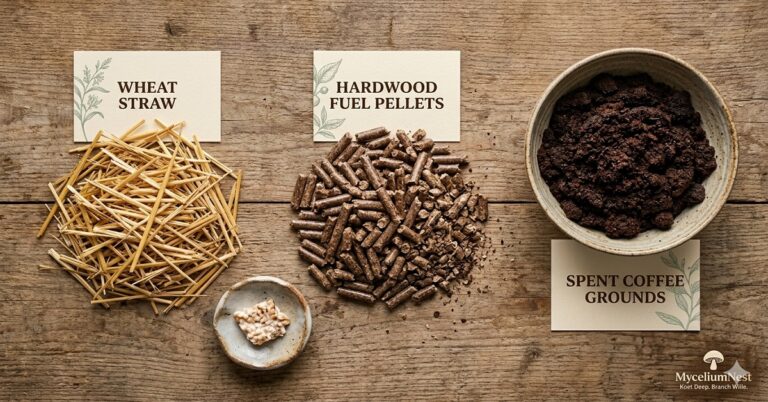
Pasteurised straw is the ideal first scratch grow because it requires no pressure cooker, uses inexpensive materials available at garden centres and farm supply stores, and oyster mushrooms colonise pasteurised straw aggressively enough to outcompete most contamination — giving you the widest margin for imperfect technique.
Our complete step-by-step guide (with exact substrate ratios, pasteurisation protocol, and fruiting conditions) is in the oyster mushroom growing guide. Here is what the overall process looks like:
What to Expect From Your First Three Grows
Managing expectations prevents quitting. Here is the honest trajectory for most beginners:
The community: The North American Mycological Association (namyco.org) connects you with local mycological societies — many of which host cultivation workshops, foray events, and expert Q&A sessions. Meeting experienced cultivators in person accelerates learning faster than any guide online.
Frequently Asked Questions
Is mushroom growing legal?
Growing edible mushrooms — oyster, shiitake, lion’s mane, portobello, and all other culinary species — is completely legal in all US states and most countries worldwide. The cultivation of psilocybin-containing mushrooms is a separate matter governed by local jurisdiction. This site and all guides on MyceliumNest cover only culinary and medicinal mushroom species.
How much does it cost to start growing mushrooms?
A single grow kit: $25–45. Everything needed for your first three kit grows: $75–135. A complete beginner scratch-grow setup (pasteurised straw, no pressure cooker): $40–80 total including spawn. A full grain spawn operation with pressure cooker and still air box: $120–200 in initial equipment, then $10–20 per batch in consumables. The kit-first pathway described above is the most cost-effective because it produces harvestable mushrooms before you invest in equipment.
What is the easiest mushroom to grow for beginners?
Pearl oyster mushrooms (Pleurotus ostreatus) are the easiest culinary mushroom for beginners by a significant margin. They colonise extremely aggressively, tolerate imperfect humidity, pin readily without a cold shock trigger, and produce in virtually any home environment. See our complete oyster growing guide for the full process. King oyster (Pleurotus eryngii) is often described as beginner-friendly but is actually more demanding — slower colonisation, requires cooler temperatures, and is more sensitive to CO₂ than pearl oyster.
How much space do I need to grow mushrooms?
Less than you think. A single grow kit occupies the space of a shoebox on any surface. A shotgun fruiting chamber for 2–3 blocks fits on a windowsill or kitchen counter (30×25×20cm). A 4-tier Martha tent — the standard home production setup for 8–16 blocks — requires roughly 60×60cm of floor space. Serious production in a dedicated grow room starts at 1×1m. Mushrooms are extraordinarily space-efficient compared to most food growing projects.
Disclosure: This article contains Amazon affiliate links. See our full disclosure.