How to Grow King Oyster Mushrooms Indoors: The Complete Guide
Beyond its culinary reputation, Pleurotus eryngii is nutritionally significant — peer-reviewed analysis confirms that king oyster fruiting bodies contain ergothioneine and demonstrate measurable antioxidant activity superior to mycelium-based preparations — another reason to focus on producing high-quality fruiting bodies through the cultivation techniques covered in this guide.
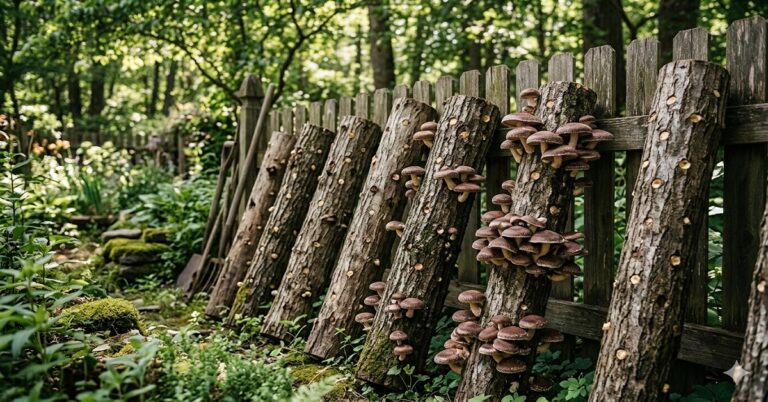
King oyster is not a beginner species despite being marketed as one. It colonises slower than pearl oyster, requires a colder fruiting trigger, and its signature thick stems only develop when CO₂ is deliberately managed. Get these three things right and king oyster produces one of the most culinarily valuable mushrooms in home cultivation. Get them wrong and you get flat-capped, thin-stemmed disappointment.
King Oyster vs. Pearl Oyster: Understanding What Makes Them Different
Pleurotus eryngii (king oyster, trumpet royale, king trumpet) and Pleurotus ostreatus (pearl oyster) are in the same genus but have evolved in very different ecological niches. Pearl oyster is a ligninolytic decomposer of hardwood — fast, aggressive, and adaptable. King oyster in nature grows on the roots of dying Eryngium (sea holly) plants in Mediterranean and Asian grasslands — a drier, more nutrient-limited, cooler habitat.
This ecological history explains king oyster’s cultivation profile:
| Characteristic | Pearl Oyster | King Oyster |
|---|---|---|
| Colonisation speed | Fast (7–14 days) | Slow (14–25 days) |
| Fruiting temperature | 15–22°C (flexible) | 10–18°C (strict) |
| Cold trigger required? | Optional — helpful but not essential | Essential — won’t fruit reliably without it |
| CO₂ sensitivity | High — long stems at elevated CO₂ | Used productively — elevated CO₂ produces the desirable thick trumpet stem |
| Culinary value | ★★★★☆ Excellent | ★★★★★ Premium — used in high-end restaurant kitchens |
| Shelf life (fresh) | 5–7 days | 10–14 days — significantly longer |
| Beginner-friendliness | ★★★★★ Best beginner species | ★★★☆☆ Intermediate — needs prior experience |
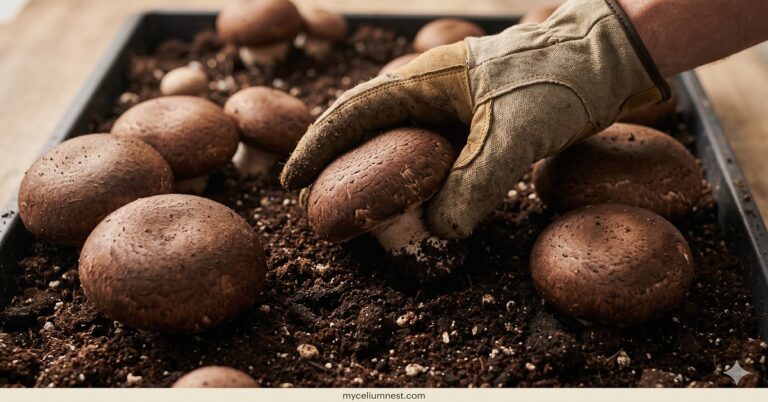
Substrate: What King Oyster Actually Needs
King oyster in nature grows on roots — a substrate with a different chemical profile than typical wood decomposer mushroom habitat. In cultivation, this translates to specific substrate requirements that differ somewhat from pearl oyster:
Recommended Substrate for Maximum Yield
Master Mix (50% HWFP + 50% soybean hulls) is ideal for king oyster — the high nitrogen content from soy hulls supports the dense, meaty stem tissue that makes this species valuable. See our complete Master Mix substrate guide for the exact recipe, hydration protocol, and sterilisation requirements.
An alternative formulation that works particularly well for king oyster: 60% HWFP + 30% soybean hulls + 10% wheat bran. The wheat bran adds readily available nitrogen and slightly accelerates colonisation — which is beneficial given king oyster’s naturally slow growth rate.
The substrate advantage of hardwood-based media over straw for P. eryngii is confirmed in peer-reviewed cultivation research — a comparative study found hardwood sawdust produced significantly higher biological efficiency than straw-based substrate, while straw produced larger individual fruit bodies. For home growers prioritising stem density and yield weight over fruit body size, hardwood-based Master Mix is the clear choice.
Substrate Alternatives
- Plain HWFP: Works but produces 25–30% lower yield than Master Mix — the nitrogen limitation is more pronounced for king oyster than for pearl oyster
- Cottonseed hull + hardwood blend: Excellent — similar performance to soy hull blends with potentially lower contamination risk
- Straw alone: Not recommended for king oyster — too low in nitrogen for adequate fruit body development
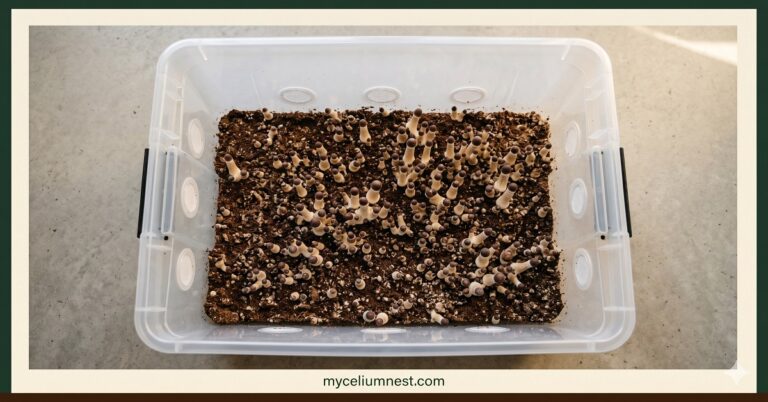
Colonisation: The Patience Phase
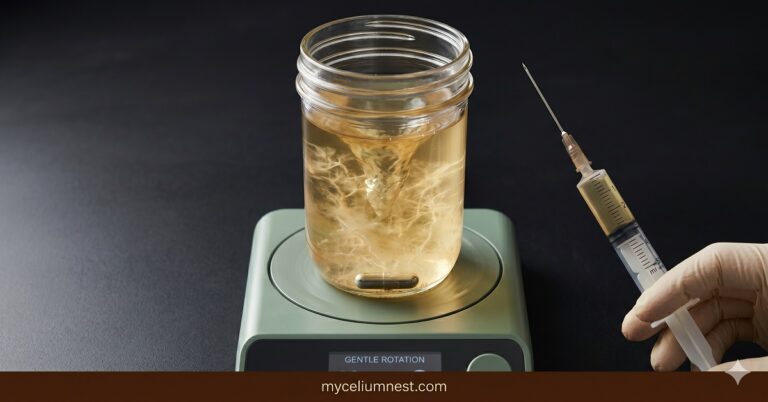
King oyster colonises at approximately half the speed of pearl oyster. Expect 14–25 days for a fully colonised 2kg block at 22–24°C, compared to 7–14 days for pearl oyster on the same substrate. This slower colonisation means a longer contamination exposure window — which is why using quality bags with 0.2 micron filter patches and impeccable inoculation technique matters more for king oyster than for most species.
Signs of healthy king oyster colonisation: bright white, dense mycelium that tends to form thicker, more consolidated “cords” than the fluffy mycelium of pearl oyster. Yellow metabolic secretions are common and normal. The smell of a colonising king oyster block is faintly anise-like — pleasant and distinct from the earthy smell of other species.
The Cold Trigger: Non-Negotiable for King Oyster
Unlike pearl oyster — which will attempt to fruit at room temperature without any cold shock — king oyster almost never initiates fruiting without a temperature drop. This is the single biggest reason people believe king oyster “doesn’t work” when their pearl oyster blocks fruit effortlessly.
The Cold Trigger Protocol
- Confirm full colonisation first. Do not attempt the cold trigger until the block is 100% white throughout. A partially colonised block cold-shocked early will not fruit and the stress can cause sector formation.
- Submerge the block in cold water (8–12°C / 46–54°F) for 12–18 hours. This is the most reliable trigger. Alternatively, place the block in a refrigerator at 4–7°C for 24–48 hours without water submersion.
- Return to fruiting temperature (12–18°C). This is the critical parameter most beginners get wrong. King oyster needs to fruit cold — 12–18°C, not the 18–22°C of pearl oyster. A block returned to a 22°C room after cold shock will fail to pin or produce flat-capped, thin-stemmed fruit bodies without the dense stem structure that makes this species distinctive.
- Expect pins within 7–14 days of the cold trigger at 14–17°C fruiting temperature. The warmer the fruiting temperature within the 12–18°C range, the faster pins appear but the less dense the stem tissue becomes.
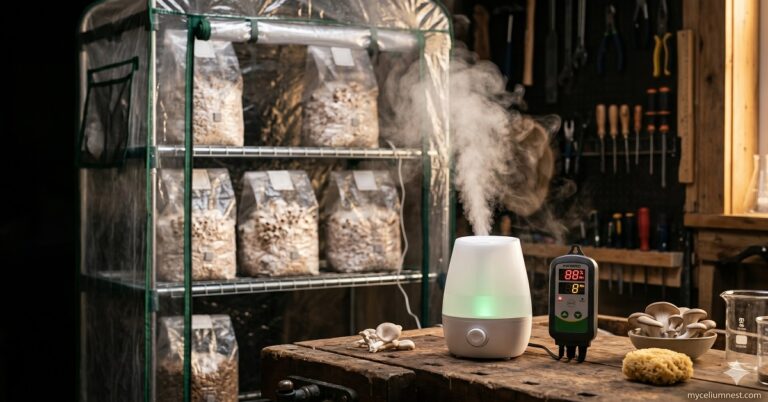
CO₂ Management: The Secret to Thick Restaurant-Quality Stems
This is the cultivation knowledge that separates home growers who get beautiful king oyster from those who get mediocre results — and it’s the opposite of what you’d do for pearl oyster or lion’s mane.
How CO₂ Shapes King Oyster Morphology
In pearl oyster and lion’s mane, elevated CO₂ is always detrimental — it produces long, thin, low-quality fruit bodies. In king oyster, deliberately elevated CO₂ during early stem development produces the thick, dense trumpet stems that are the defining quality characteristic of this species.
The mechanism: king oyster evolved in dry, somewhat enclosed root-zone environments where CO₂ naturally accumulates. The thick stem is a response to this environment — the plant allocates tissue to the stem (which can exchange gas more efficiently in confined spaces) rather than to a large cap (which requires open-air spore dispersal conditions). In cultivation, mimicking this slightly elevated CO₂ environment produces the premium “trumpet royale” quality that commands $20–30/lb at farmers markets.
The CO₂ Management Protocol
Fruiting Conditions, Harvest & Post-Flush Care
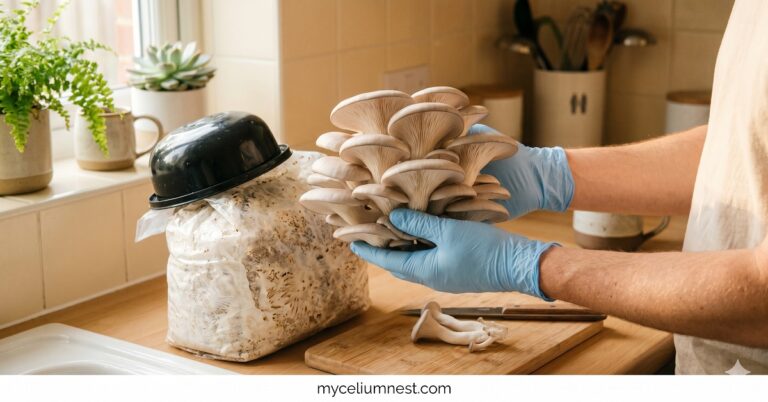
Harvest Timing
Harvest king oyster just as the cap edge begins to uncurl from its initial inward curve — when caps are still firm, flat, and the underside gills are tight and white. This is earlier than most guides suggest. King oyster held past this stage develops a slightly bitter flavour and the cap begins to discolour. The long shelf life advantage only applies to mushrooms harvested at the correct early stage — overripe king oyster deteriorates as fast as pearl oyster.
For cooking ideas and recipes, see our king oyster mushroom recipes guide.
Frequently Asked Questions
Why are my king oyster mushrooms growing with flat caps and thin stems?
The two most common causes: (1) Fruiting temperature too high — if you’re fruiting above 20°C, king oyster produces flat-capped, wide fruit bodies rather than the thick trumpet form. Drop to 14–17°C. (2) Too much fresh air exchange during stem development — high FAE prevents the slight CO₂ elevation that drives thick stem formation. Reduce FAE during the first 10 days of stem development. Both corrections can be applied to ongoing flushes; the response is visible within 5–7 days.
How many flushes can I get from a king oyster block?
Typically 3–4 flushes from a Master Mix block, with each requiring a fresh cold trigger (submerge in cold water for 12 hours or refrigerate for 24–48 hours). The rest period between flushes should be 4–6 weeks — longer than pearl oyster’s 2–3 week rest — because king oyster’s slower metabolism means the mycelium needs more time to rebuild nutritional reserves. After 3–4 flushes the yield per flush declines significantly.
Can king oyster mushrooms be grown on straw like pearl oyster?
Technically yes, but results are significantly inferior to hardwood-based substrate. King oyster on plain straw produces thin-stemmed, lower-quality fruit bodies and lower overall biological efficiency. The species genuinely requires nitrogen-supplemented hardwood substrate to produce the premium trumpet form it’s known for. If you want a straw-based species, pearl oyster is the right choice. King oyster requires Master Mix or equivalent for meaningful results.
Disclosure: This article contains Amazon affiliate links. See our full disclosure.